From Concept to Creation

Prototype development process

We’re transforming a simple idea into a fully engineered smart dog collar.
From early shell prototypes to integrating electronics, every step brings us closer.
Join us as we build, test, and perfect the collar your dog deserves.

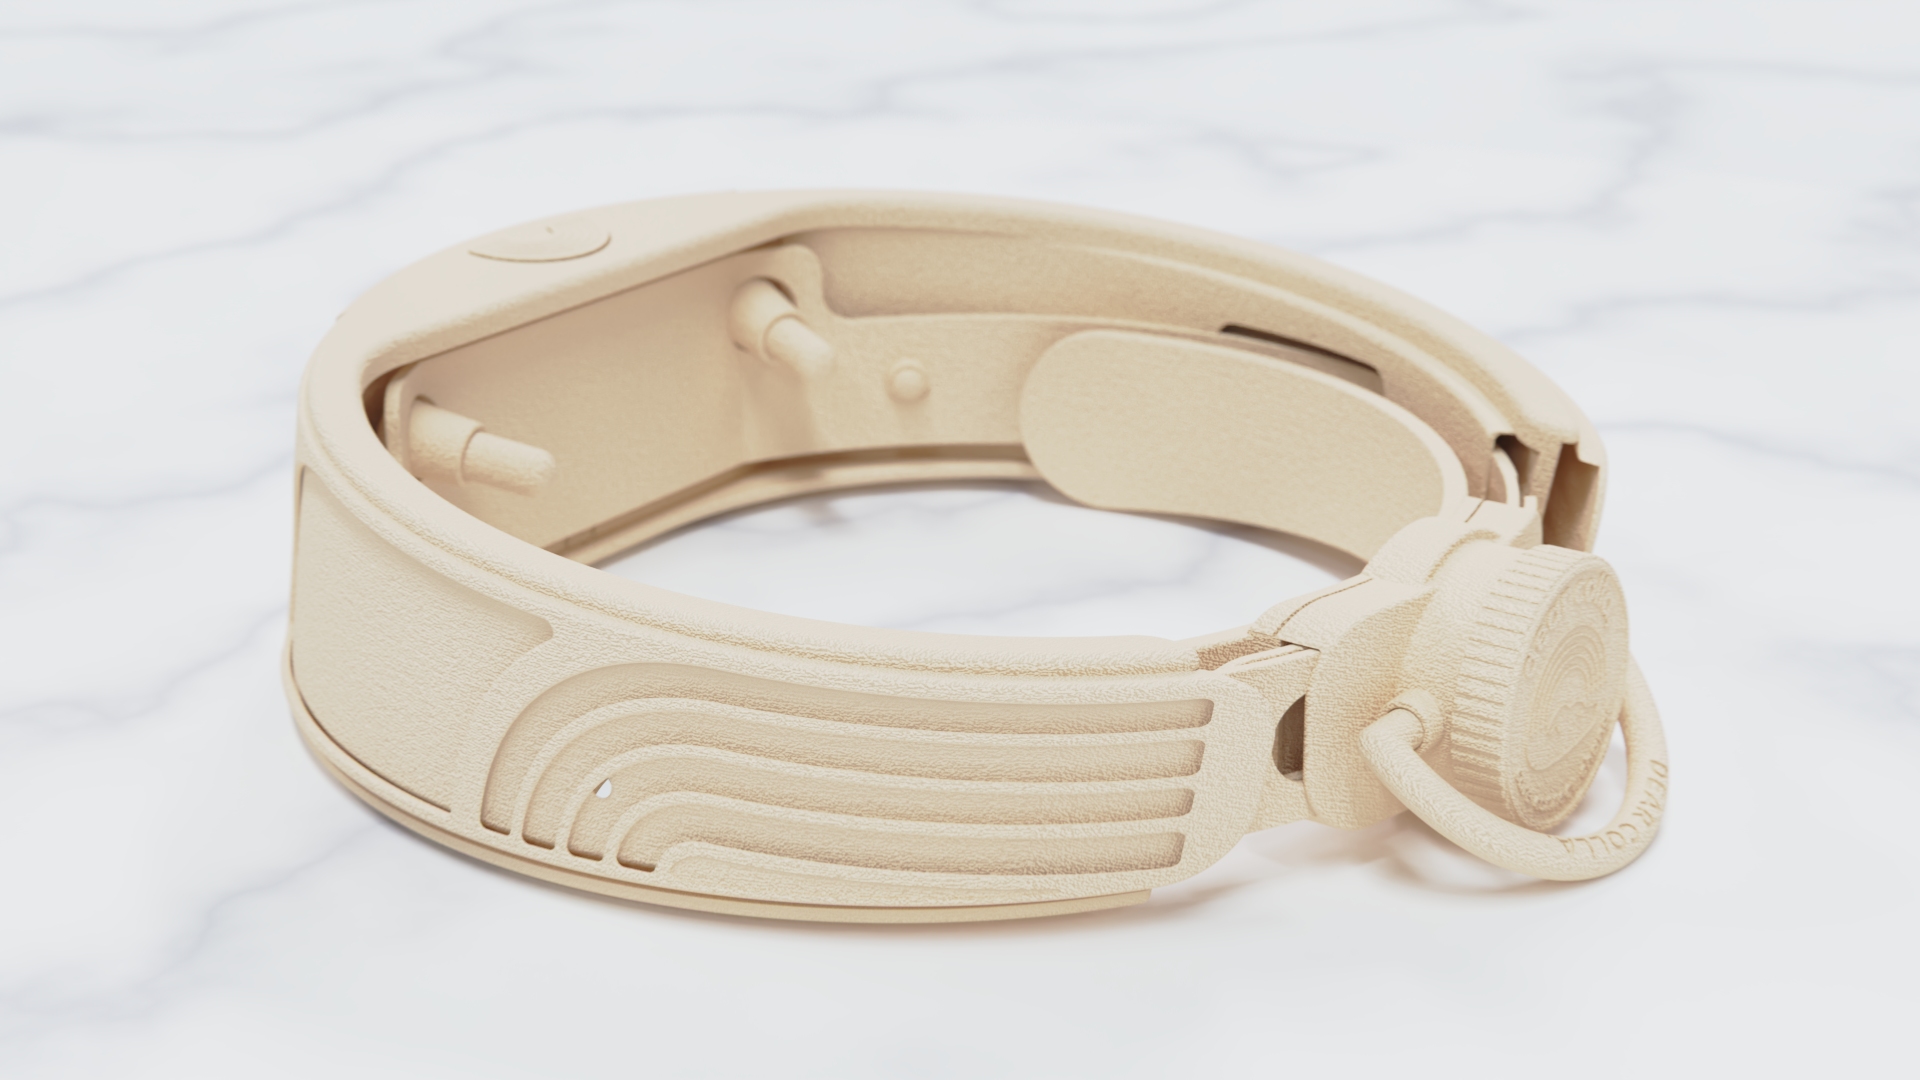
3D Printed Parts  Assembled

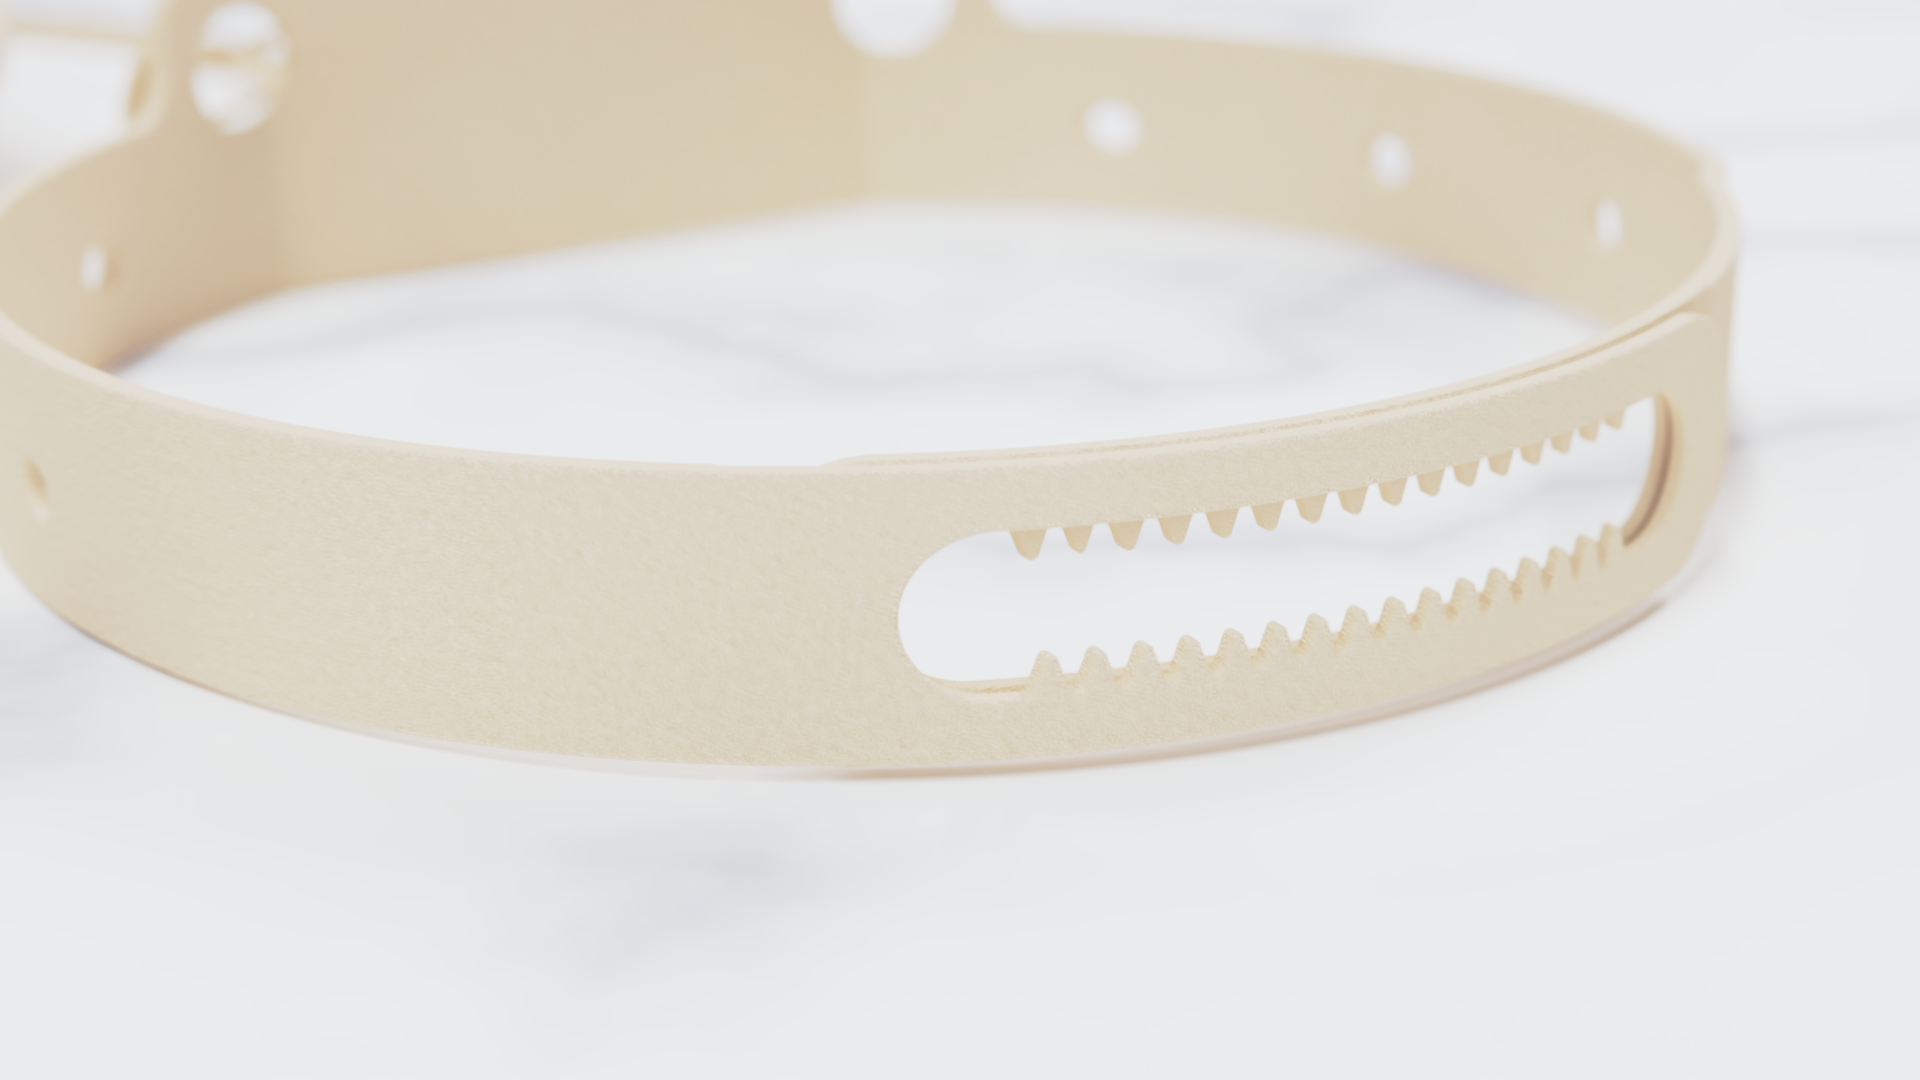
Each part of this collar is printed individually—fifteen total pieces, including the adjustable ratchet strap and the tension knob that tightens the fit with satisfying clicks. Every completed print gets cleaned, tested, and snapped into place as the mechanism slowly takes shape. Once all 15 parts are finished, they come together into a fully adjustable, engineered-for-comfort dog collar.

This 3D-printed prototype will then serve as the master reference for our next phase: transitioning to injection molding and full-scale parts production with our manufacturer. The printed version helps us dial in fit, function, and ergonomics before moving into durable, production-grade materials for the final product.

CONCEPT

We have successfully completed the concept phase of the project, establishing a clear vision for the design, functionality, and user experience. All initial sketches, 3D tests, and prototype ideas have been explored and validated. With the concept fully defined, we are ready to move into detailed design and engineering development.

3D PROTOTYPE

We have successfully completed the 3D prototyping phase, bringing our design into physical form for the first time. Each part has been tested for fit, function, and ergonomics, allowing us to validate sizing, tolerances, and mechanical interactions. With the 3D prototypes finalized, we are ready to move into refined engineering and production planning.

PCB ELECTRONICS (in-progress)

We have successfully created our first electronic PCB board and are now progressing into the software and AI testing phase. This stage allows us to validate sensor functionality, data processing, and wireless communication, ensuring the smart features perform reliably before full integration.

MANUFACTURED MODEL

We are revising our 3D prototype, collaborating closely with manufacturers to bring this design to life. This phase ensures that every part is optimized for production, fit, and function, bridging the gap between prototype and final product.

How it Started

We set out to redesign the modern dog collar from the ground up by merging thoughtful design with advanced engineering. Every stage—sketching, prototyping, and electronics—pushes the product closer to its final form.

Sketch Ideations

Determining the future of dog collars

Dogs and humans go hand in hand. The bond we share with them shapes how we design for them—intuitively, emotionally, and with a sense of companionship. Just as Dog toys are often humanized with expressions and personality, dog accessories carry their own sense of character and attitude.

Perhaps what keeps these objects meaningful is that the design process behind them has stayed, well, human. We still begin with the most important step: hand-sketching every idea. Each line helps us explore comfort, fit, movement, and expression—capturing not just the function of a collar, but the personality of the dogs who will wear it.

Begin development in paper

Exploring sizing, fit & design

This paper prototype serves as the earliest physical expression of our design concept. Built from simple materials, it allows us to explore form, proportion, and interaction before committing to digital modeling or 3D fabrication. By rapidly sketching, cutting, and assembling the pieces, we can quickly test ideas, evaluate ergonomics, and identify potential improvements. The paper prototype becomes a low-cost, high-speed tool for shaping the direction of the final product.

Digital Design

Digital Prototyping: 3D Collar Fit & Form Study

Our 3D tests become the equivalent of digital sculpting, allowing us to experiment with sizing, proportions, material behavior, and ergonomic fit in a controlled environment.
Every curve of the collar, every ratchet tooth, every transition between surfaces is scrutinized, adjusted, and reworked.We iterate through countless variations—tweaking thicknesses, refining tolerances, and adjusting dimensions until the collar feels right both visually and functionally. Digital prototyping gives us the freedom to test ideas rapidly, pushing the design to its limits so we can be confident we’ve arrived at the optimal solution before moving into physical production.

CAD ENGINEERING

Converting digital design into CAD

Our dog collar follows that same progression. After refining the concept through sketches and 3D tests, the design transitions into full CAD engineering. This is where creativity meets calculation. Translating the form into exact digital geometry is no small task, especially when the collar’s ratcheting components, tolerances, material thicknesses, and mechanical interactions all need to be engineered down to fractions of a millimeter.

CAD is where the product truly becomes real—where every measured detail is locked in and every functional feature is built into the structure. It’s the stage that transforms a design vision into a manufacturable, repeatable, production-ready part.

Step 5

3D PROTOTYPES

For the real world & TESTING

We run through multiple generations of 3D-printed prototypes to dial in the perfect balance of fit, function, and form. Each iteration helps us test sizing, refine tolerances, and evaluate how the ratcheting mechanism behaves in real space. This hands-on phase allows us to validate every design decision before committing to the next stage of development. It’s yet another effort to exhaust all possibilities and ensure absolute confidence in the final geometry before moving into injection molding and full-scale production.

CHIP TESTING FOR RAPID PROTOTYPE

Soldering for real time - Motion Tracking

We move into electronics validation by rigorously testing and soldering our IMU chip—responsible for motion tracking, heartbeat monitoring, gyroscopic sensing, and Bluetooth communication. This stage is where the invisible intelligence of the product begins to take shape. Each wire, joint, and micro-connection is carefully assembled and inspected to ensure clean signal transmission and reliable sensor performance.

By prototyping the full electronics stack early, we can evaluate data accuracy, power behavior, and real-world responsiveness long before integrating the system into the final design. It’s another step in exhausting all technical possibilities to ensure the collar’s smart features function flawlessly once transitioned into production-ready hardware. We tested with Arduino.

MECHANICAL PROTOTYPE

Prototyping Refinement & Iterations

We develop mechanical prototypes to validate every moving component before entering full-scale manufacturing. These early builds let us verify tolerances, test durability, and ensure the ratcheting and adjustment mechanisms perform exactly as intended. By refining each detail in physical form, we eliminate guesswork and confirm that the design is ready for repeatable, high-precision production.

PCB BOARD (FLEX) DESIGN

We are working with manufactures for the best tech

The PCB design stage translates the collar’s smart functions into a compact, efficient electronic layout. Every trace, pad, and component placement is carefully planned to ensure reliable signal flow, minimal interference, and robust connectivity for sensors, Bluetooth, and power systems. Prototyping the board allows us to validate performance, troubleshoot, and optimize the design before moving to production-ready assemblies.

dear colla,

Thank you for allowing me to connect, care and change my dogs behavior, you have been so incredibly helpful and insightful in our journey.

~ Dog Lover